Manually Configure Outlook 2003 for an Exchange Mailbox
The following article explains how to manually configure Outlook 2003 to connect to your Exchange Hosting account. During the configuration, you will create a new profile for Outlook. This will allow you to have multiple profiles if you use Outlook to connect to different mail accounts.
If you have Microsoft Business Contact Manager for Outlook 2003 installed and are having difficulties configuring Outlook for your Exchange account, you will need to create two Exchange profiles.
To configure Outlook 2003, please follow these steps:
- Close Outlook 2003 if it is open.
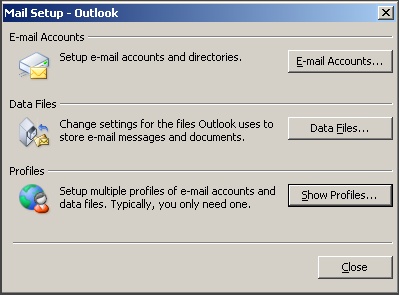
- From the Windows Control Panel, double click the Mail icon.

- Click Show Profiles.
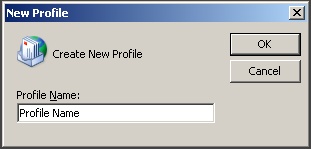
- Click Add in the Profiles window to create a new outlook profile that will be used for the Exchange user.

- Enter a profile name and click OK.
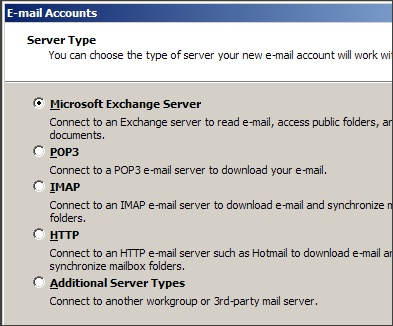
- Select Add a new e-mail account and click Next.

- Select Microsoft Exchange Server and click Next.
- In the space labeled Microsoft Exchange server:, enter HMCEXMBX01.hmc.safesecureweb.com
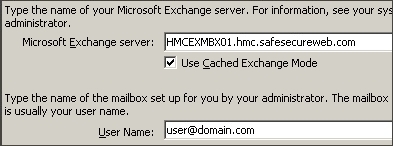
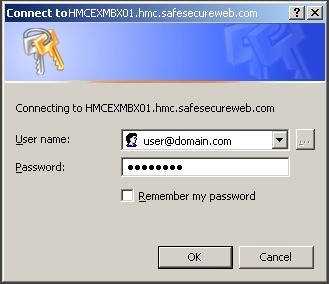
- For the Username, enter the full email address of the user created (ie: user@domain.com).
- Click More Settings.
- If prompted to login, log in using the full email address and password of the user created.
- If you receive an error stating that the server is unavailable, click OK and then click Cancel on the Microsoft Exchange pop up Menu that appears.
- On the Connection tab, under Exchange of the Internet, check Connect to my Exchange mailbox using HTTP.
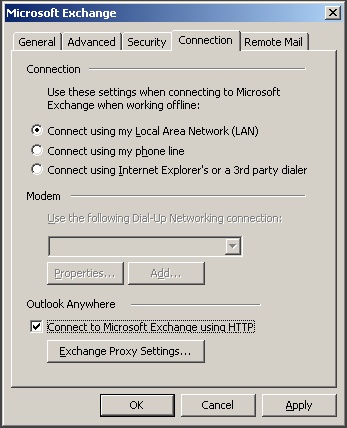
- Click Exchange Proxy settings.
- In the Connection Settings window, for the URL to connect to the proxy server for exchange, enter webmail.myexchangeemail.com

- Check both boxes for fast and slow networks.
- Select Basic Authentication from the drop down and click OK.
- Click OK on both windows and then click Next.
- Click Finish and then open up Outlook.
Additional Support Topics