How do I convert an Access database to a MySQL database?
The following article explains how to convert an Access database to a MySQL database. Before you begin, you will need to create a MySQL database (a free MySQL database is included with all HostMySite’s hosting plans that support Access). Instructions for creating your MySQL database can be found here.
The name of the Access database must match the name of the MySQL database, so it may be necessary to rename the Access database file.
To convert an Access database to a MySQL database, please follow these steps:
- Load http://mysql.com/products/tools/migration-toolkit/ in a browser and click Download the Migration Toolkit.

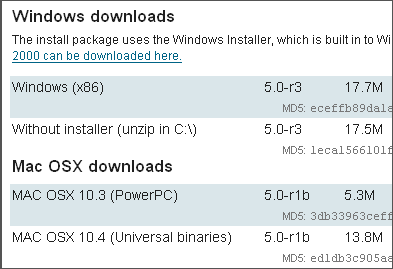
- Select the appropriate file based on your local machines operating system.
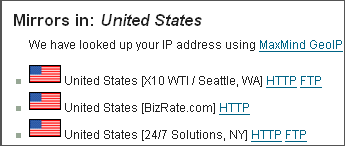
- Scroll to the bottom and select a mirror site close to your location and click the available link for http or ftp.
- When the install file completes downloading, install the toolkit following the instructions in the installation wizard.
- Load http://java.sun.com/javase/downloads/index.jsp in a browser and click Download for Java Runtime Environment (JRE) 5.0 Update 8.

- Click Accept License Agreement.
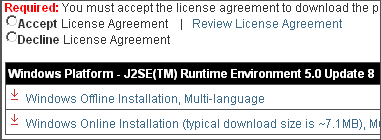
- Click Windows Offline Installation, Multi-language to download the JRE.
- When the install file completes downloading, install the toolkit following the instructions in the installation wizard.
- Open the Access database you wish to convert.
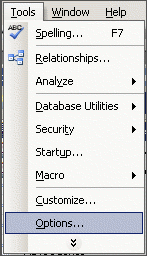
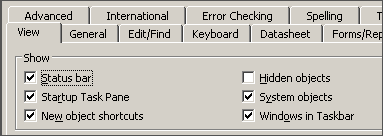
- From the Tools menu, select Options.
- On the View tab, click System Objects and click OK.
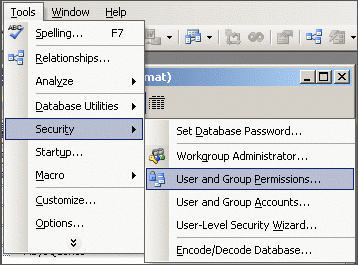
- From the Tools menu, click Security and select User and Group Permissions.
- Select MSsysObjects, click Administer and click Apply.
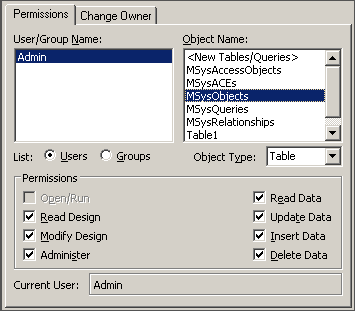
- Repeat the previous step for MSusQueries and MSysRelationships.
- Click OK.
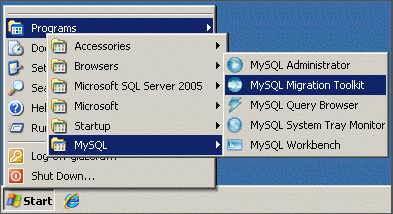
- Click Start, Programs, MySQL, MySQL Migration Toolkit to open the toolkit. This is the default location for the toolkit.
- Click Next to begin the wizard
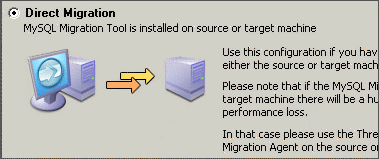
- Select Direct Migration and click Next.
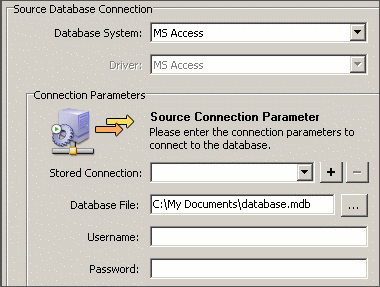
- Enter the requested source information and then click Next:
- Database System: select MS Access
- Database File: browse to your Access database
- Username: enter the username for your Access database (if applicable)
- Password: enter the password for your Access database (if applicable)
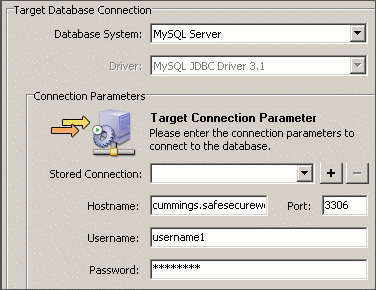
- Enter the requested destination information and then click Next:
- Database System: MySQL Server
- Hostname: enter the name of the MySQL server that contains your MySQL database
- Username: enter the username for your MySQL database
- Password: enter the password for your MySQL database
- Click Next after the Connecting to Servers tasks complete.
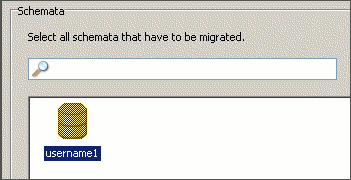
- Select your database from the list of schema and click Next.
- Click Next after the Reverse Engineering tasks complete.
- Select each object type to convert and click Next.
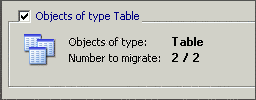
- Select Generic for each Migration Method and click Next.
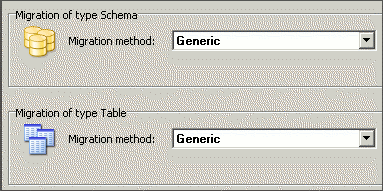
- Click Next after the Migration tasks complete.
- Click Next after the scan for mapping problems complete.

- Select Create Objects Online and click Next.
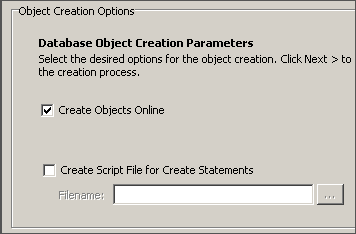
- Click Next after the Creating Objects tasks complete.
- Click Next after the scan for creation problems complete.

- Select Transfer Data Online and click Next.
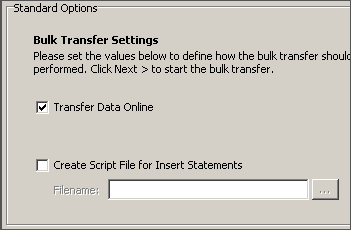
- Click Next after the Bulk Data Transfer tasks complete.
- Click Finish to exit the migration toolkit.
