
 Order
Order
How do I install MySQL on a Windows Server?
The following article explains how to install MySQL on a Windows Server. The process involves downloading the latest version of MySQL directly to your Windows server and then installing the software. MySQL is a free product. Once installed, you may begin creating and using MySQL databases on your server.
To install MySQL, please follow these steps:
- Log into your server through Terminal Services or Remote Desktop Connection.
- Open a Web browser and load http://dev.mysql.com/downloads/mysql/4.1.html
- Download Windows (x86) ZIP/Setup.exe
- Unzip the file you downloaded above and run Setup.exe.

- Click Next to begin the installation wizard.
- Select Typical Installation and click Next.
- Click Install. The installation will take a few moments.
- Click Next until you reach the Wizard Completed screen.
- Check Configure the MySQL Server now and click Finish.
- Click Next to begin the MySQL Server Instance Configuration Wizard.
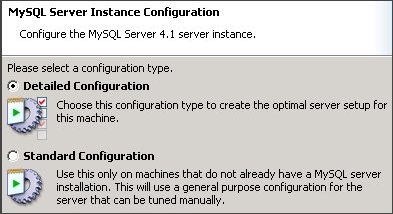
- Select Detailed Configuration and click Next.
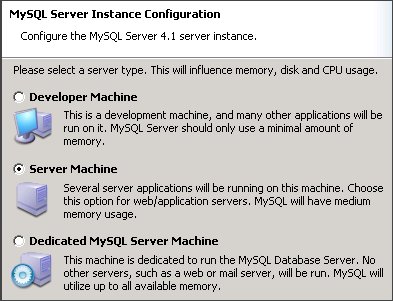
- Select Server Machine and click Next.
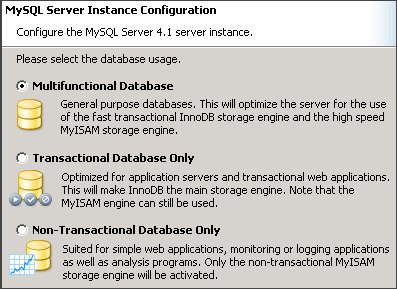
- Select Multifunctional Database and click Next.
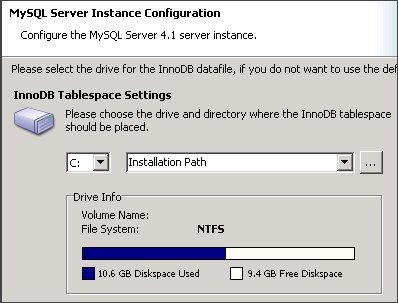
- For InnoDB Tablespace Settings, leave the default settings and click Next.
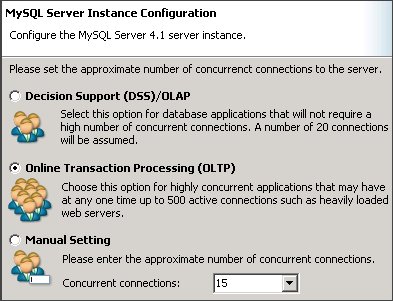
- Select Online Transaction Processing (OLTP) and click Next.
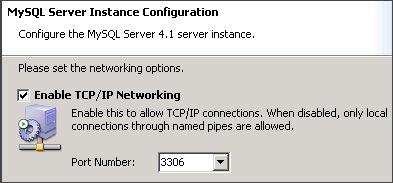
- Check Enable TCP/IP Networking, leave the default Port Number and click Next.
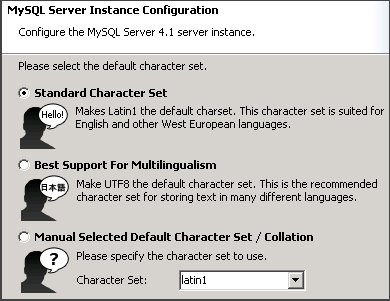
- Select Standard Character Set and click Next.
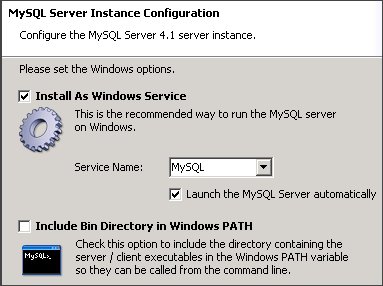
- Check Install as Windows Service, uncheck Include BIN directory in Windows PATH and click Next.
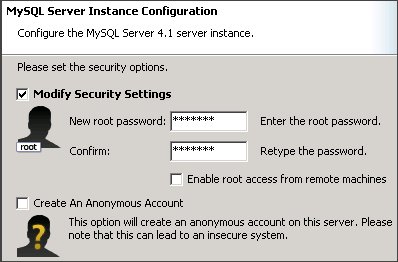
- Enter a password for your root user, uncheck Create an Anonymous Account and click Next.
- Click Execute to complete the installation.