How do I manage links in SharePoint?
The following article explains how to manage a list of links in SharePoint. A set of links can be created in SharePoint to help keep track of useful website URLs. The links are available to all users who login.
Note: SharePoint will only work properly in Internet Explorer.
To manage your links, please follow these steps:
- Open a web browser and log into SharePoint.
Create a links section | Add a link | Edit a link | Delete a link
Create a links section
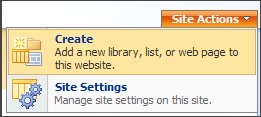
- Click Site Actions and select Create.
- Under Tracking, click Links.

- Enter the necessary information:
- Name: enter a heading for the links section
- Description: enter a description of the links section
- Choose if you wish to display this list on the Quick Launch bar
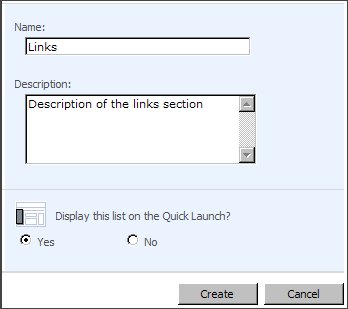
- Click Create.
Add a link
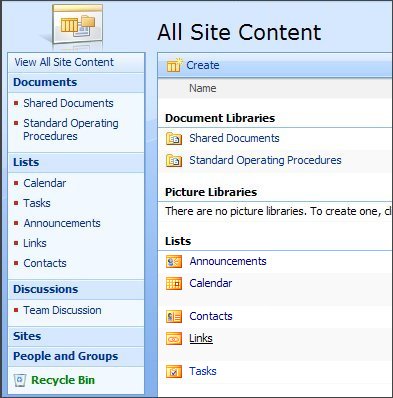
- Click View All Site Content.
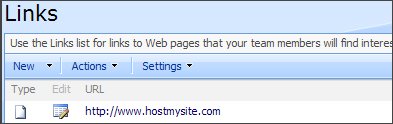
- Under Lists, click Links.
- Click New.

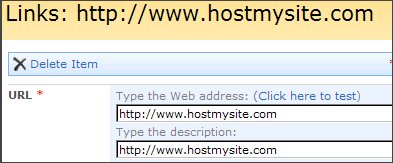
- In the URL section, type a Web address, for example, http://www.hostmysite.com.
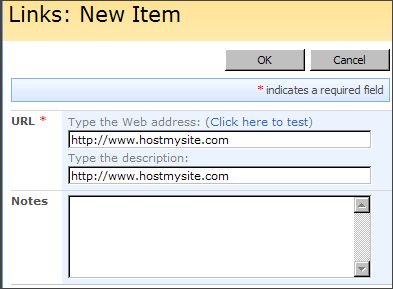 Note: If you want the link to display text other than the URL, type the text in the 'Type the description:' box.
- Type text in the Notes box as desired.
- Click OK.
Edit a link
- Click View All Site Content.
- Under Lists, click Links.
- Click the Edit icon for the link you wish to edit.
- Change the information as desired, and then click OK.
Delete a link
- Click View All Site Content.
- Under Lists, click Links.
- Click the Edit icon for the link you wish to edit.
- Click Delete Item.
- Click OK to confirm.
Additional Support Topics