How do I manage tasks in SharePoint?
The following article explains how to manage tasks in SharePoint. Tasks can be created to assign projects to team members. Tasks can also be updated to record the amount of progress made through the length of the project.
Note: SharePoint will only work properly in Internet Explorer.
To manage your tasks, please follow these steps:
- Open a web browser and log into SharePoint.
Create a tasks section | Add a task | Edit a task | Delete a task
Create a tasks section
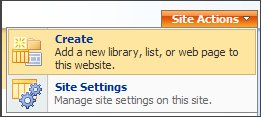
- Click Site Actions and select Create.
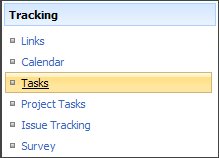
- Under Tracking, click Tasks.
- Enter the necessary information:
- Name: enter a heading for the tasks section
- Description: enter a description of the tasks section
- Choose if you wish to display this list on the Quick Launch bar
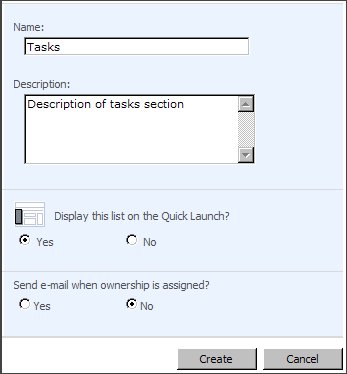
- Click Create.
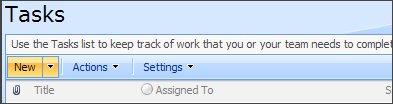
Add a task
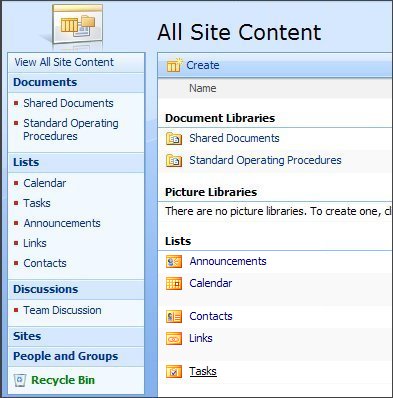
- Click View All Site Content.
- Under Lists, click Tasks.
- Click New.
- Enter the necessary information:
- Title: enter a heading for the task
- Priority: select a priority for the task
- Status: select the status of the task
- % Complete: enter the percentage of the task completed
- Assigned To: select the user the task is assigned to
- Description: enter the description of the task
- Start Date: enter a start date and time
- Due Date: enter a due date and time
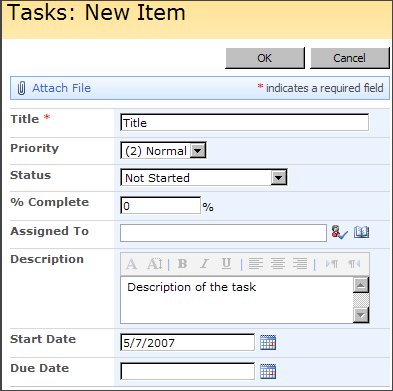
- Click OK.
Edit a task
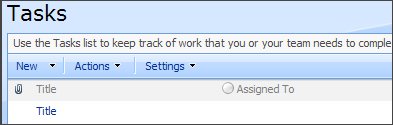
- Click View All Site Content.
- Under Lists, click Tasks.
- Click the task you wish to edit.
- Click Edit Item.
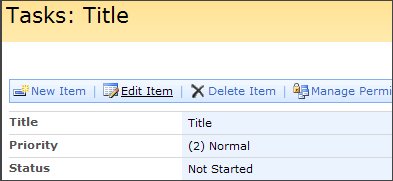
- Change the fields as desired, and then click OK.
Delete a task
- Click View All Site Content.
- Under Lists, click Tasks.
- Click the task you wish to delete.
- Click Delete Item.
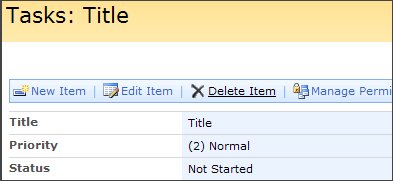
- Click OK to confirm.
Additional Support Topics